Let’s get started ✨
What we’ll be covering:1. Installing the Flipkit Extension
To get started with Flipkit, please install our chrome extension linked here.2. Connecting your marketplaces
Flipkit allows you to post on all your marketplaces at the same time, making it one of the easiest to use crosslisters. We securely connect to your seller accounts on every platform without keeping any of your data.1. Navigate to settings
1. Navigate to settings
2. Go to marketplace connections
2. Go to marketplace connections
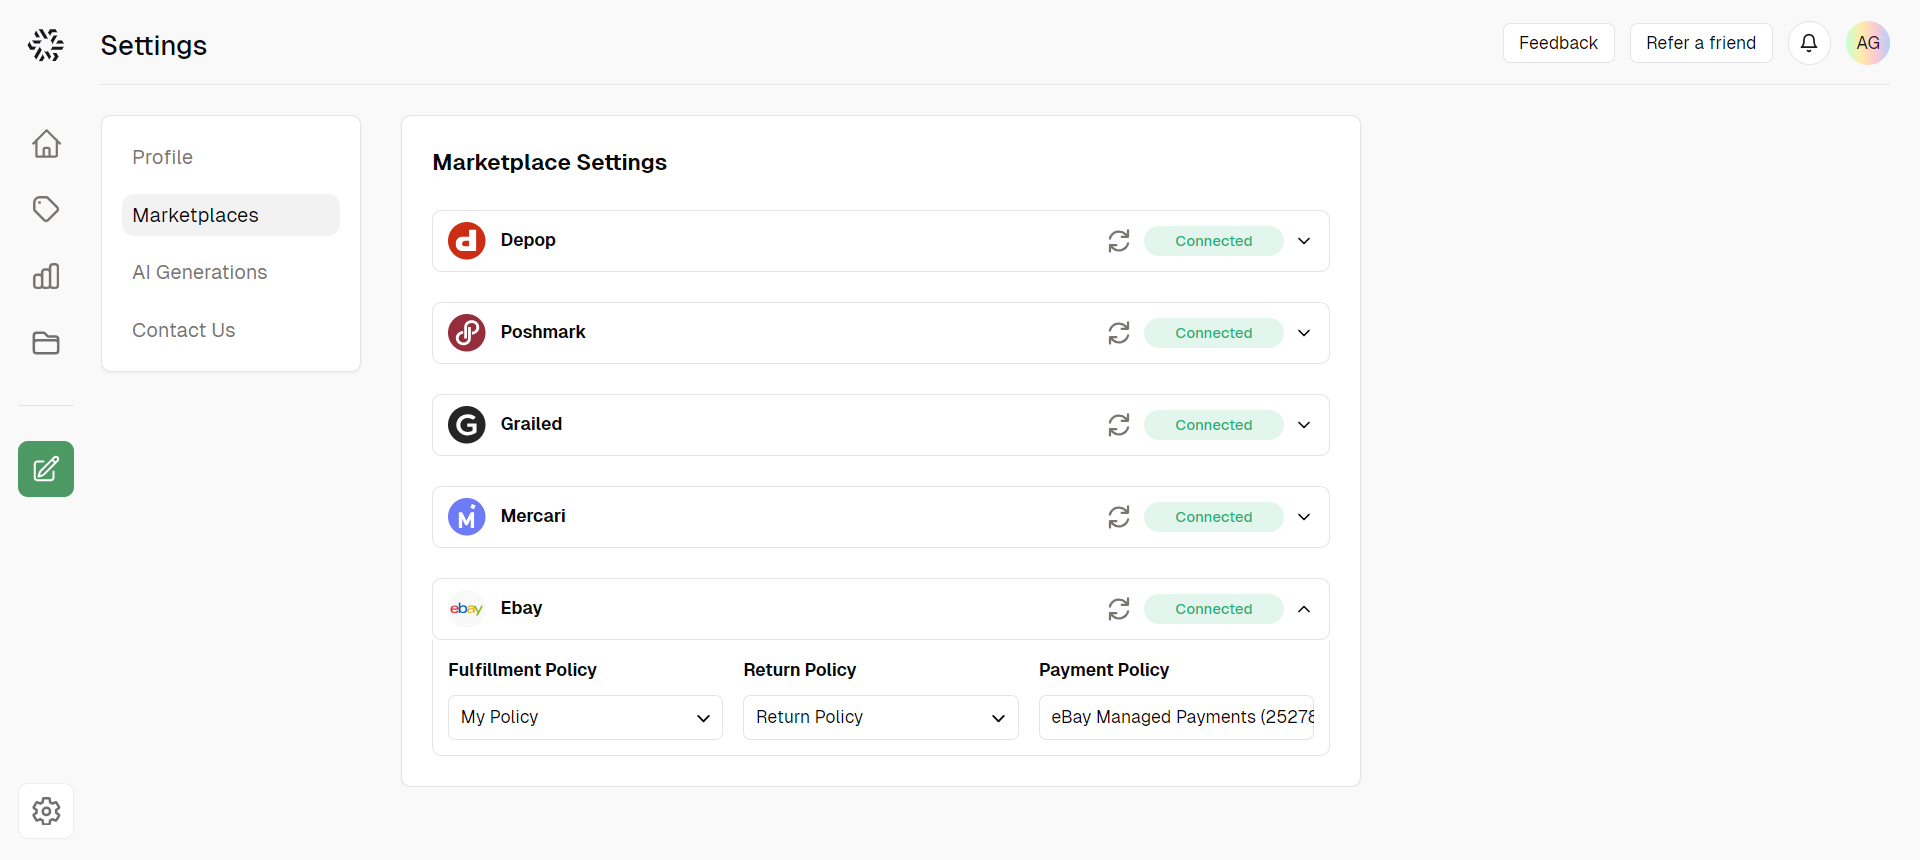
Once you open it you will see the status of all your marketplaces and whether or not you are connected. Clicking on the dropdown menu will allow you to configure your shipping settings in advance.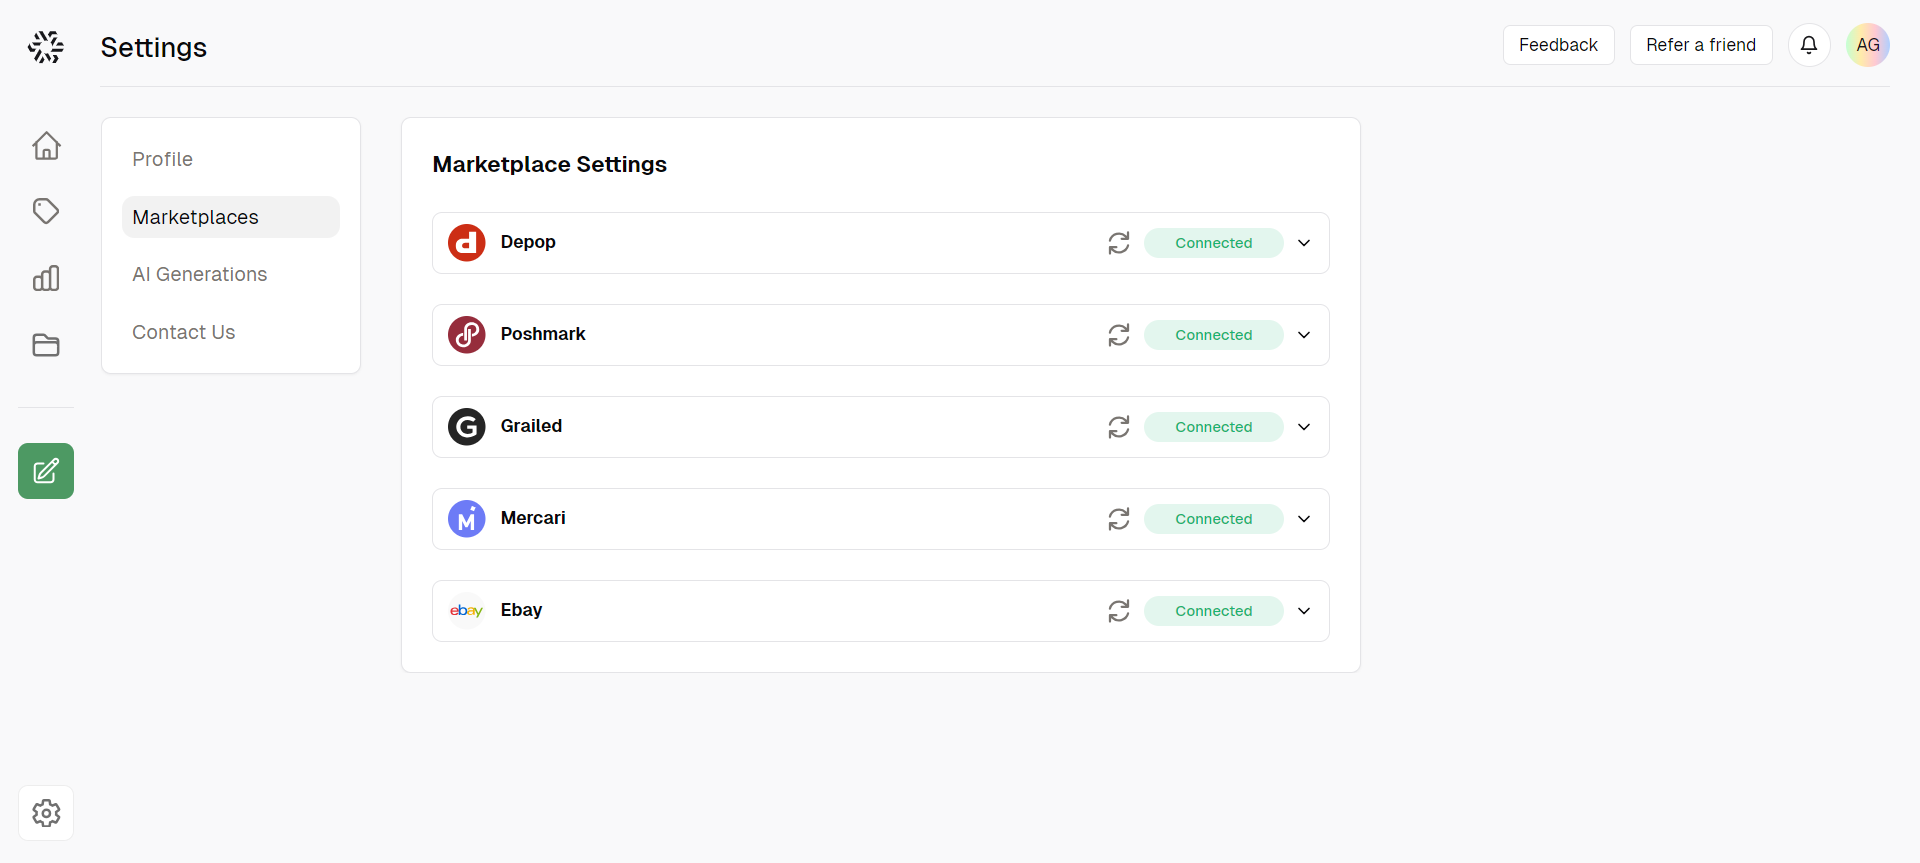
3. Open marketplaces in new tab
3. Open marketplaces in new tab
To connect unconnected marketplaces, simply open up the platform you want to connect in another tab. Let’s say you want to connect to your Depop account, by opening up and logging into your Depop account in another tab, Flipkit is able to automatically sync your account.