Bulk Upload 📑
Flipkit’s bread and butter feature is the ability to upload huge folders of photos and instantly turn them into listings. Every reseller should try the bulk upload feature if they want to save time reselling.Step 1: Upload Photos
On the photo review screen, click the left side box to upload up to 50 photos at once. Note: Once the first batch of 50 photos are sorted, another 50 can be uploaded and added to this haul.
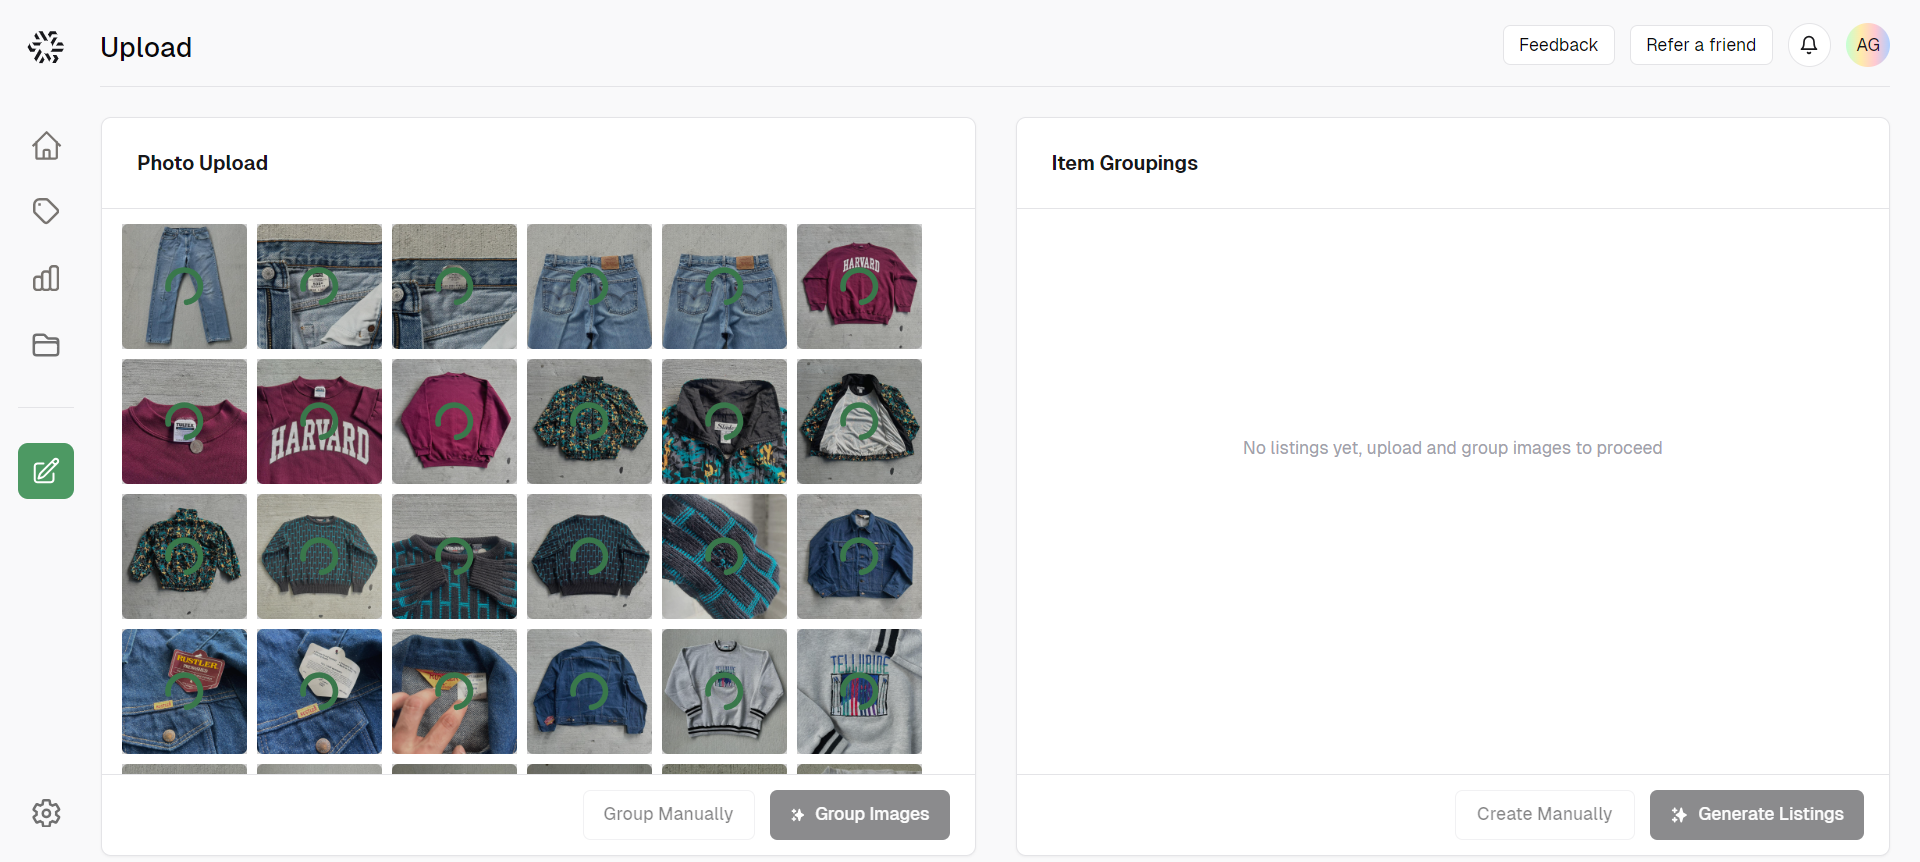
Step 2: Sort Photos
At the bottom of the page choose between the manual sort or the automatic sort option. Once separated and sorted into items the groupings will appear on the right side where you can click and drag photos to move them to other groupings.
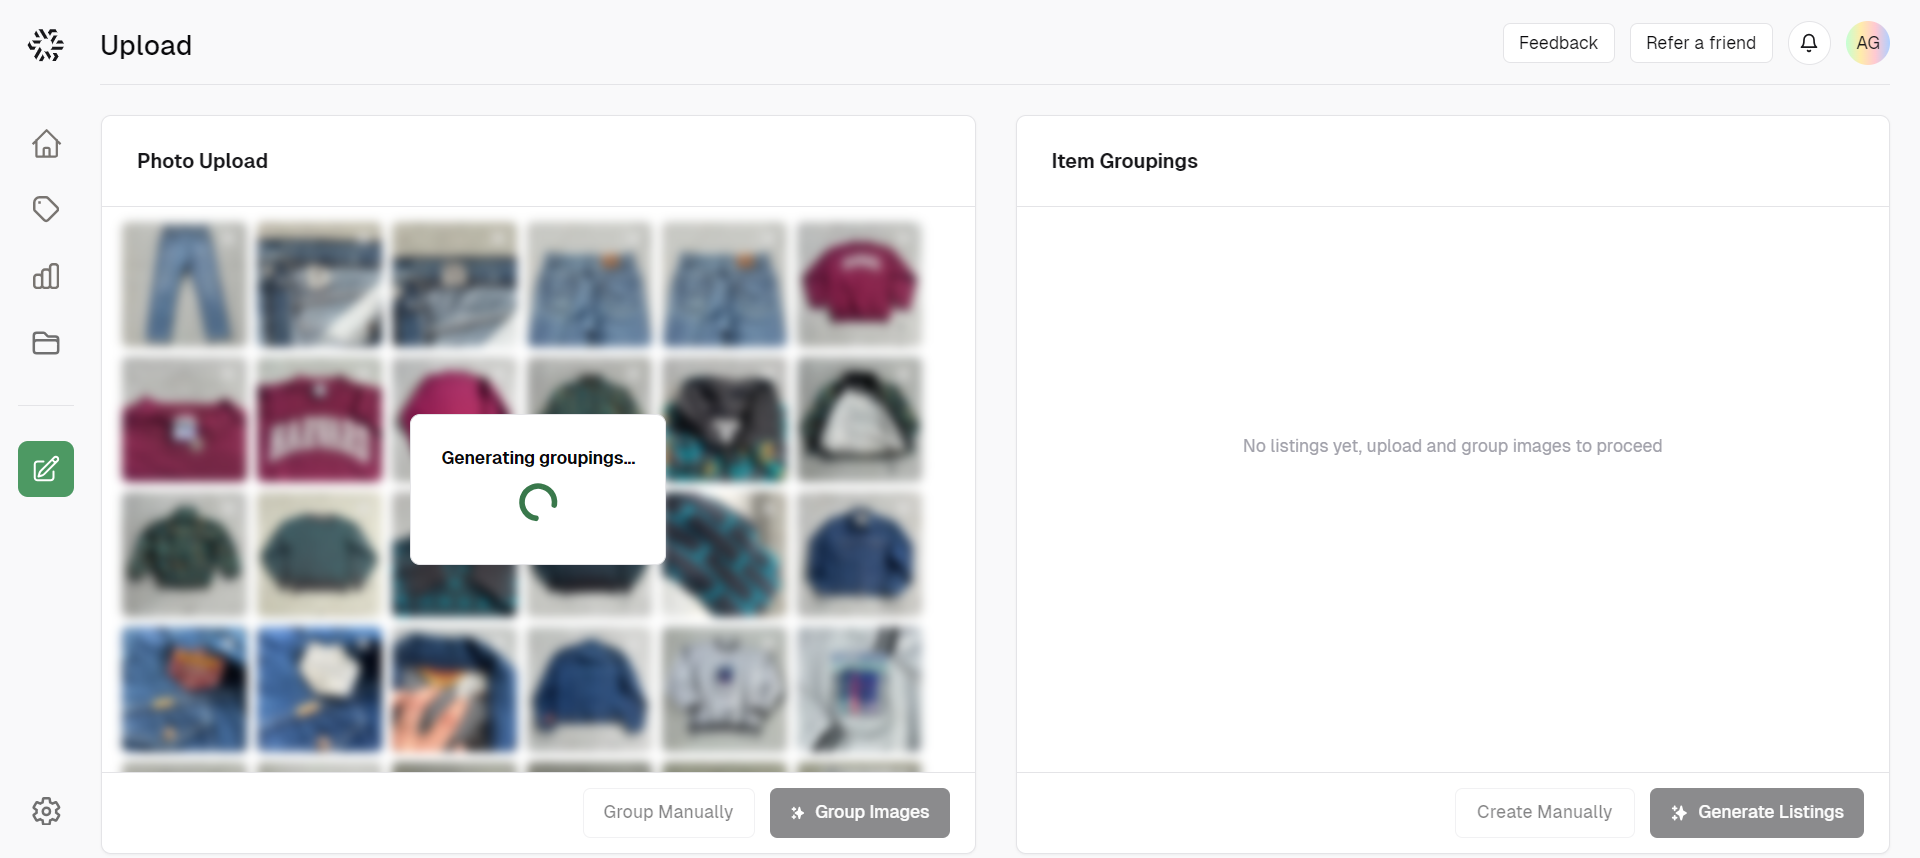
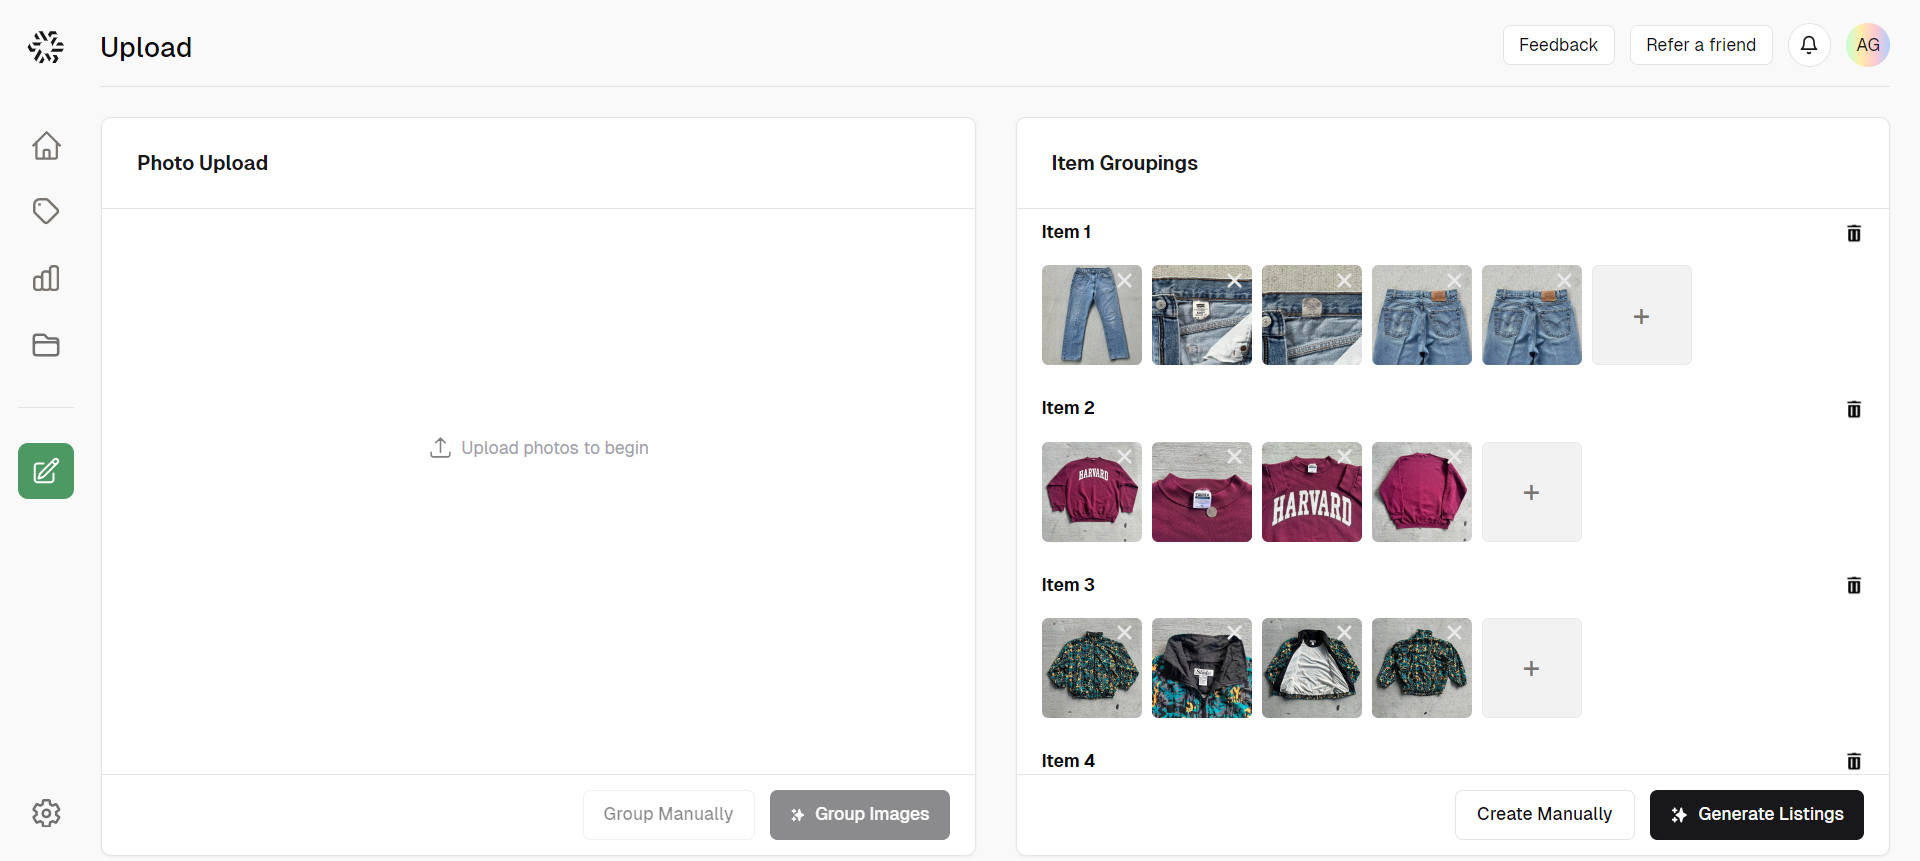
Step 3: Generate Listings
Once all your photos have been sorted. You are ready to generate your listings. Hit the black generate listings button at the bottom right of the photo review screen and wait for the Flipkit AI to analyze your items. This should, at most, take 5 minutes.

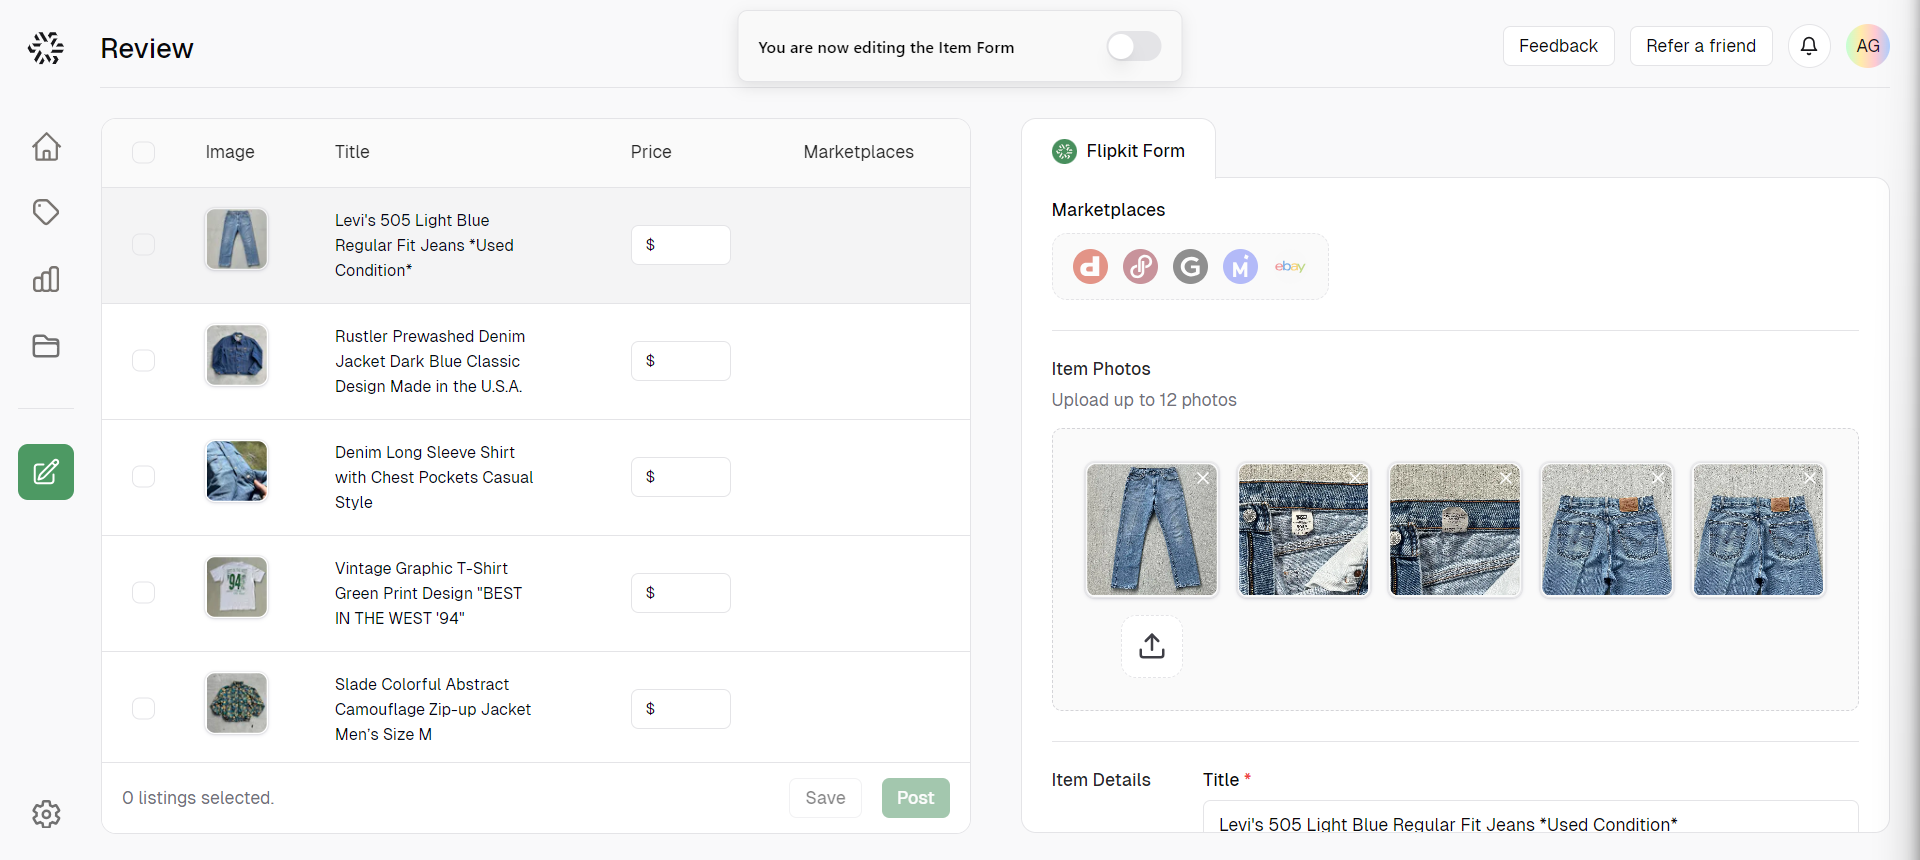
Step 4: Edit Listings
Now that you have generated your items you are ready to add the final touches and edits to your listings before you post them. The Flipkit AI will do its best to write a description and fill in all the fields such as size and color. Anything the AI wasn’t able to fill out will be marked by a red asterisk for you to review.
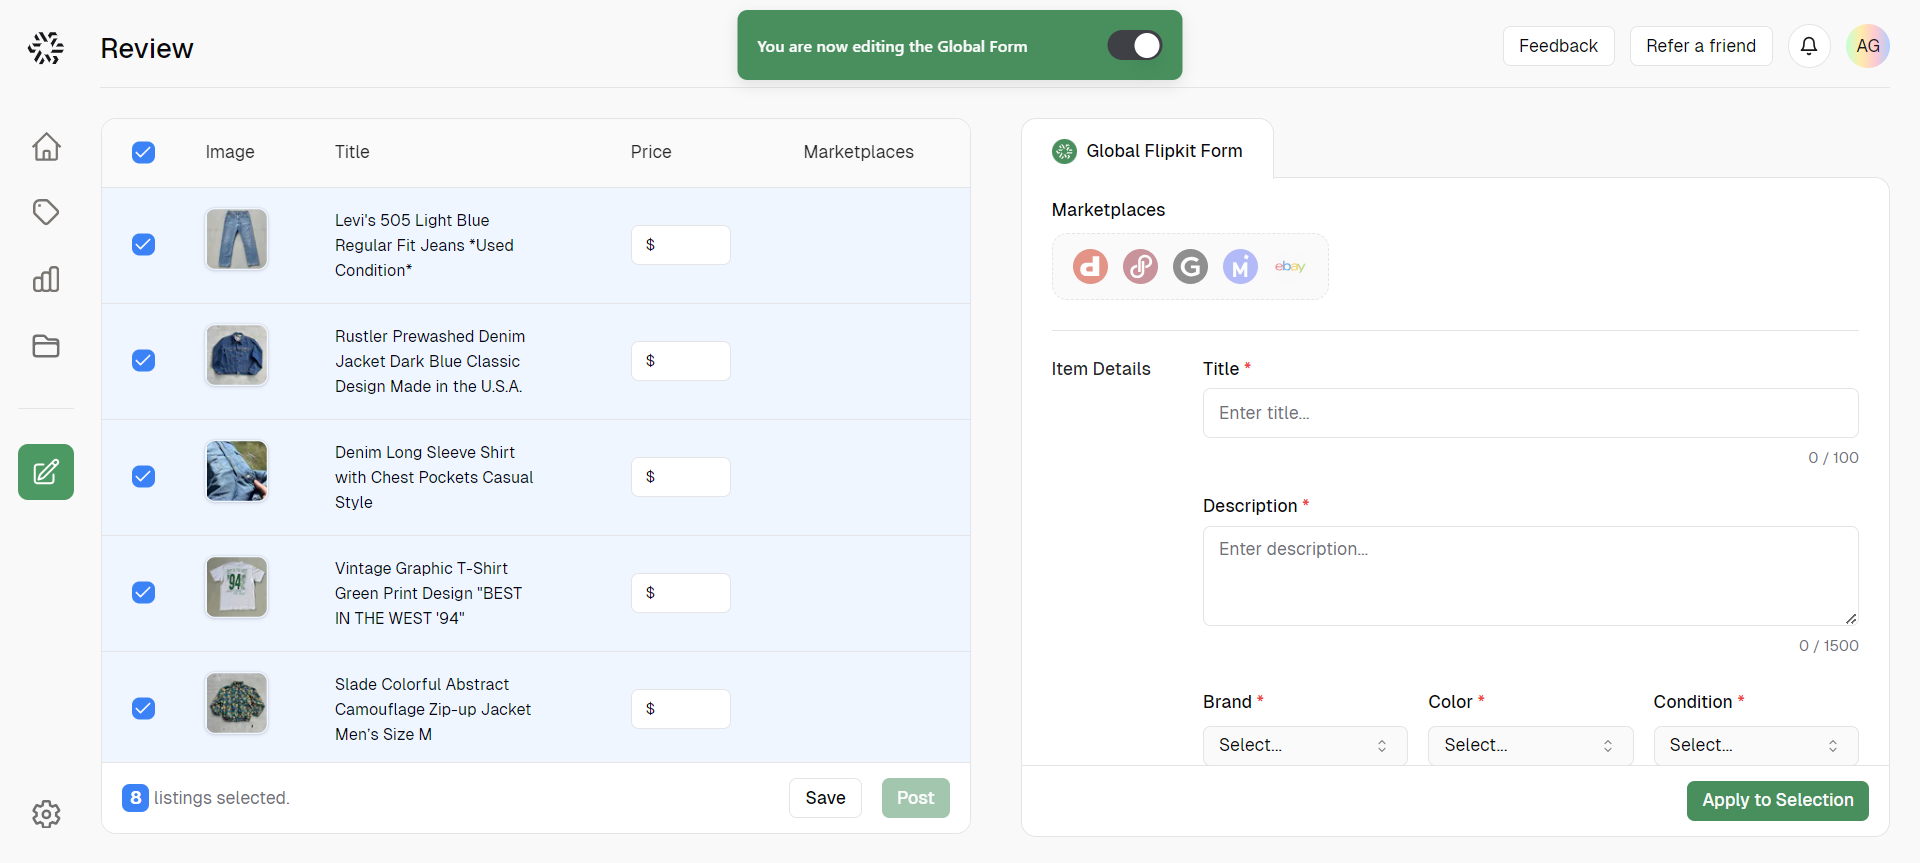
Step 5: Posting
Finally you are ready to post. Select all the listings you want to post and hit the green post button at the bottom of the screen. Flipktit will begin posting these items in the background and will continue to allow you to edit your other listings in the meantime. Additionally you can hit save to store your items in your inventory and post them later.
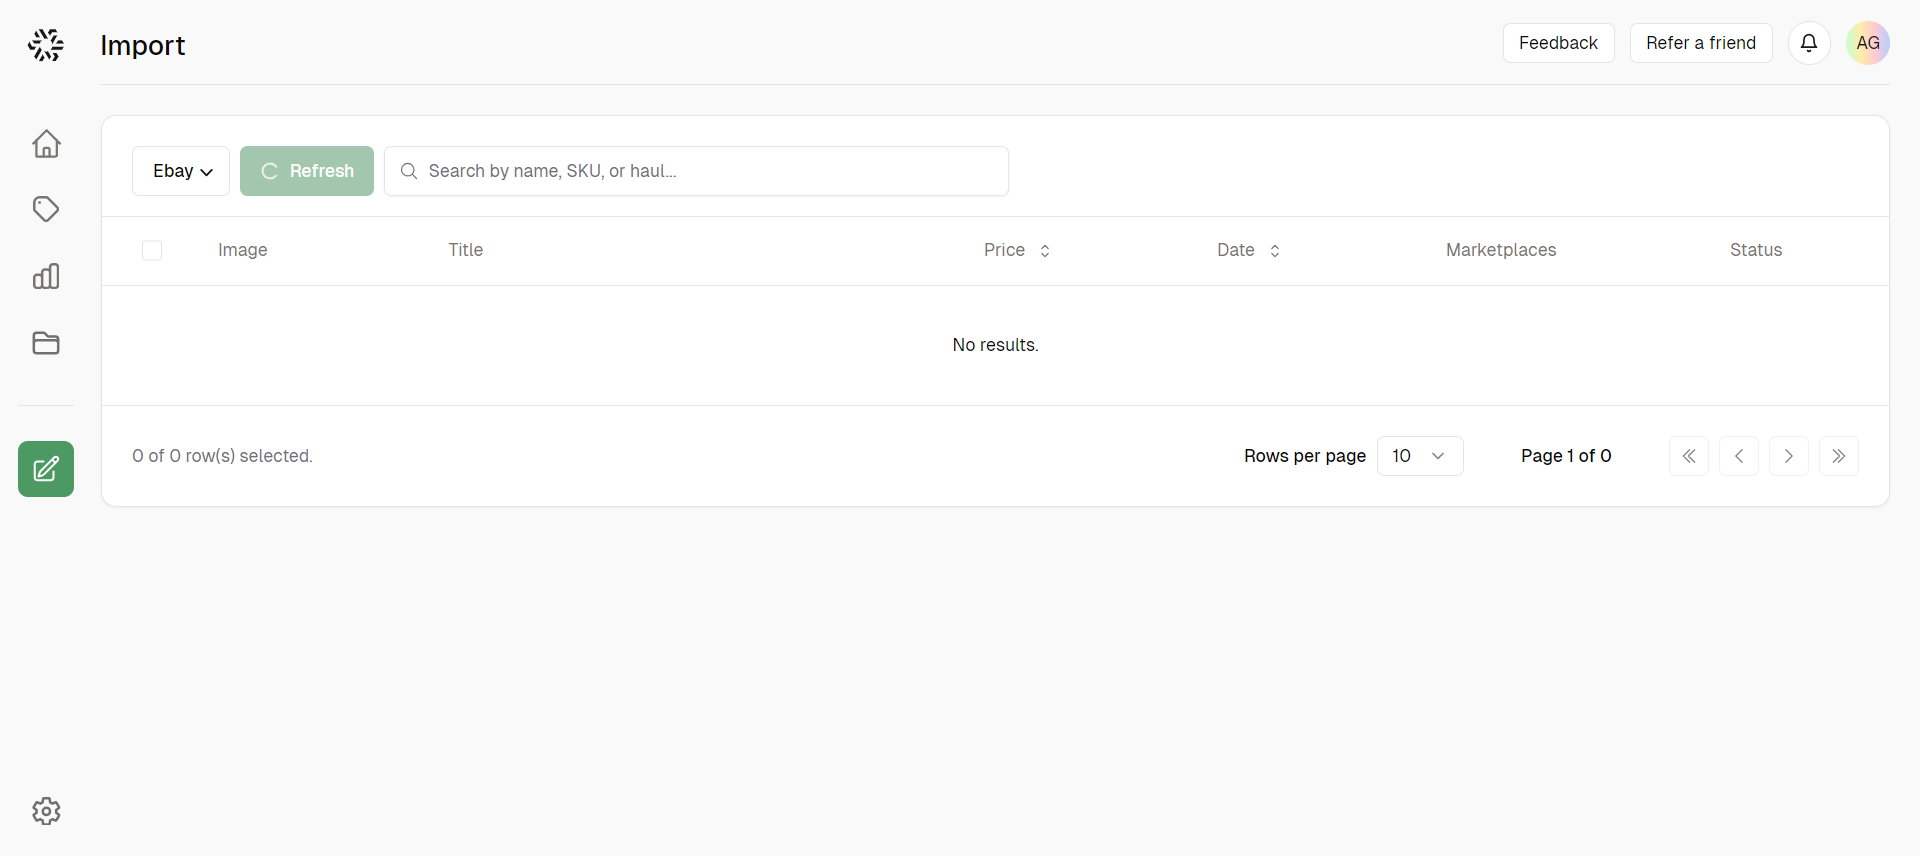
Import Items ⏬
Migrating your inventory from another platform is a great way for you to quickly get started crosslisting your older listings.Step 1: Select your import location
Hit the dropdown menu at the top left of the import page to select which marketplace you want to import items from.
Step 2: Refresh and load items
Click on the green refresh button 🔄 to load in all your items. Once they appear, select all the items you want to import and hit the import button at the bottom of the screen.
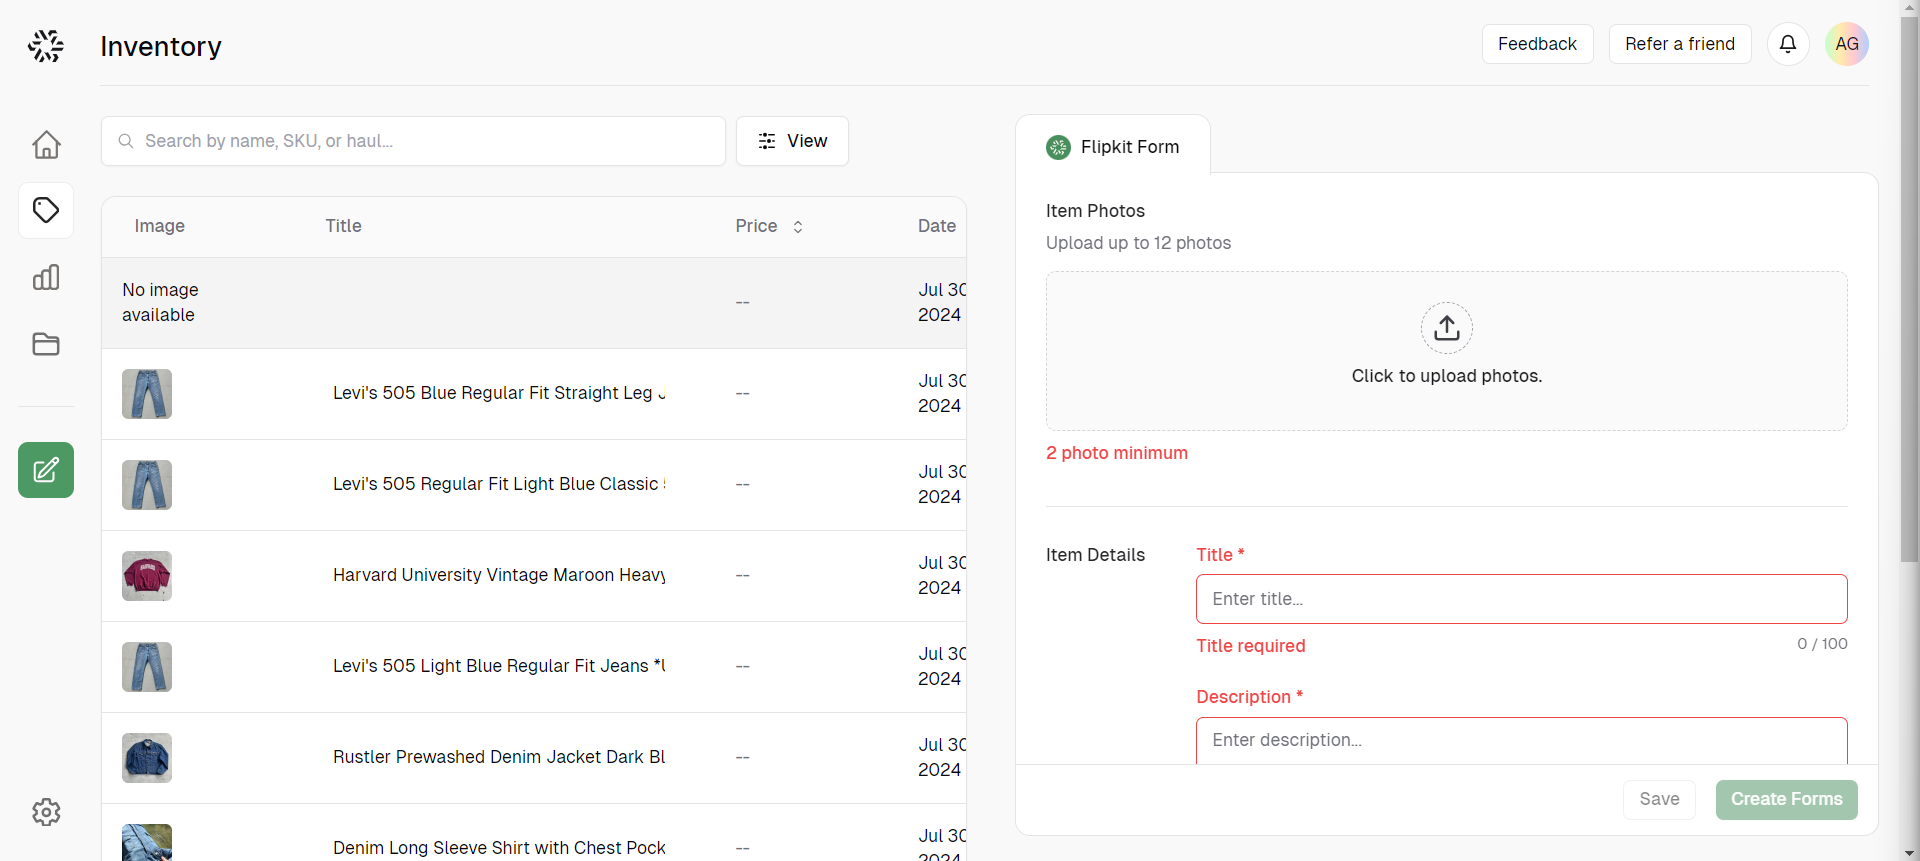
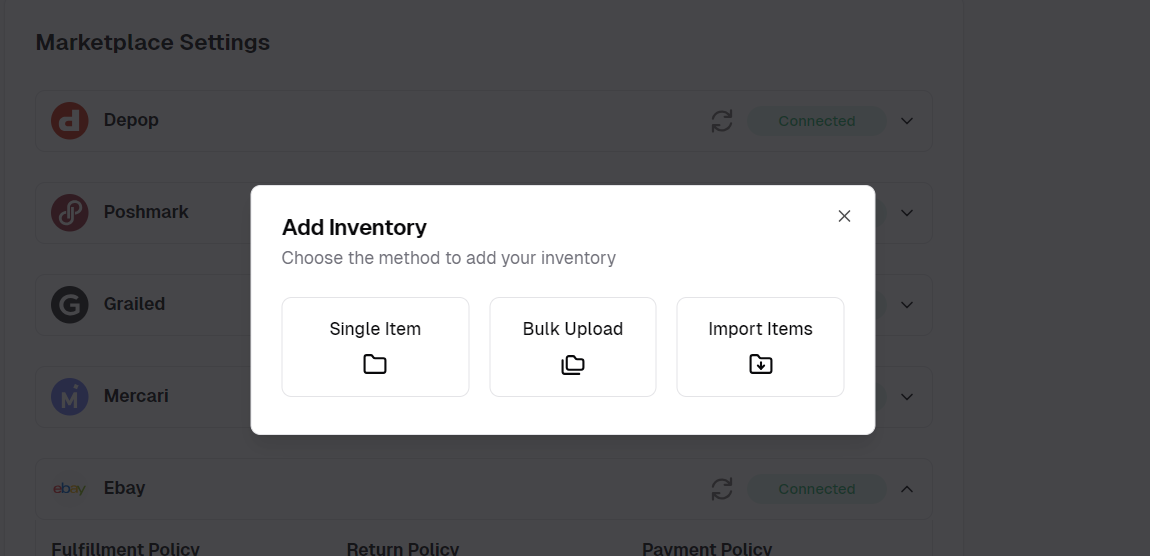
Single Item 📄
Use this when you just want to manually create a single item. Using this option will take you right to a blank item form where you can fill it out as you like then crosslist it at no charge.After you have filled out the Flipkit Form, click the Create Forms button to map your fields to all other marketplace forms.