Scheduled listings are Flipkit’s latest feature, enabling users to schedule up to 10 listings for automatic posting to their chosen marketplaces at a future date and time—no extra effort needed. This feature is currently available to Business and Pro users only.
Getting Set Up ⚙️
To begin, users must enable scheduled listings in the Scheduled Actions tab under settings.
 Once activated, users can view which marketplaces are connected and available for scheduling. To recheck a marketplace connection, simply click its corresponding icon.
Ensure you’re logged into your marketplace accounts in the same browser. Most connection issues arise when users are either logged out of their marketplace account or logged in using a different browser.
Scheduling Your Listings 📅
There are two ways to schedule listings with Flipkit:
1. Review Page
On the review page, after selecting your desired listings and marketplaces, click the “Post” button and choose the “Schedule” option to open the date/time picker. From there, select when you want the listing to be posted.
The date and time must be at least 1 hour ahead of the current time. Once a valid time is set, the confirm button will be enabled, and you can click it to finalize your scheduled listing.
2. Inventory Page
 On the inventory page, users can select the “Schedule” option from the bulk actions menu to open the Schedule Listings modal.
 Once open, users can choose their desired marketplaces and set the date and time, just like on the review page.
Unconnected marketplaces will be unclickable and return an error when selected. Make sure you are logged into your marketplace account in the same browser!
Editing/Unscheduling Scheduled Listings 📝
There are two ways to edit scheduled listings:
1. Individual
When viewing a scheduled individual listing from the inventory or review page, a “Schedule Details” banner appears at the top of the marketplace form, showing the scheduled date and time. From the Actions menu, you can either cancel the scheduled listing or adjust the date and time for that specific marketplace.

2. Bulk
On the Calendar page, click on the date of the scheduled listings you wish to edit or unschedule. A list of all scheduled listings for that day will appear. From the Actions menu, you can unschedule or modify the date and time for the selected listings.

Handling Failed Scheduled Listings 🚨
Since this feature is still in beta, some listings may fail to post. If this occurs, a “Failed” banner will appear at the top of the marketplace form, and you can click the “List now” button to manually post the listing.
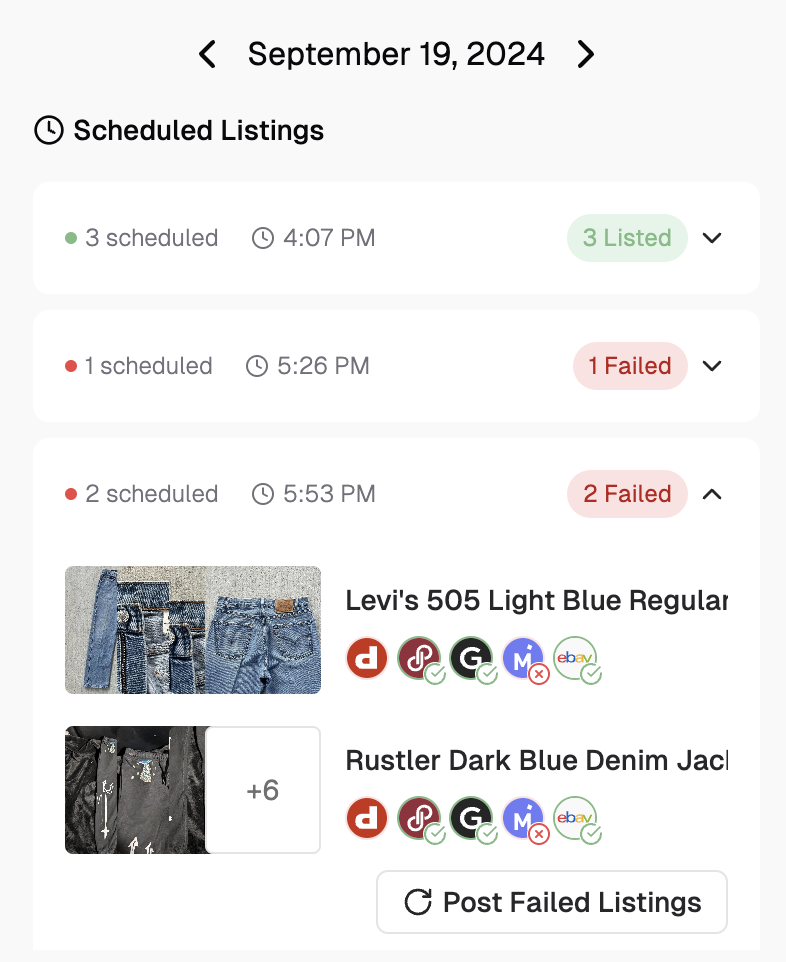
 Failed scheduled listings are also visible on the Calendar page. Clicking on the date of the failed listings will display a list of all the failed listings for that day. You can then click the “Post Failed Listings” button to manually post them.